
VMWare ESXi 5.1 Hypervisor
VMWare ESXi 5.1 is a fantastic hyper-visor it’s lightweight, reliable, efficient, Linux based and on top of all of that free. Not only that but ESXi is also capable of running a myriad of different operating systems from Windows to Linux to BSD/Unix and so on, making it perfect for a lab environment for learning and playing. The installation process is easy and very intuitive. Managing your server is just as easy via VMWare’s vSphere Client, which is the management console that you download from your server after the install process. If you are a VMWare Workstation user, you can also tie your workstation client to your ESXi Servers and manage them through there.
Getting the ESXi Image and your license key
Obtaining your copy of ESXi is easy and free, just visit VMWare.com and sign up for a free account. Once you have the free account they will give you access to download ISO images and provide you with your free license key. The sign up process can be a little bit of a pia, but is well worth it in the end. If you want to manage multiple ESXi servers through one management console then it’s time for you to look into vCenter, that’s where they make their money.
VMWare.com – Click here to get your ESXi Images and license key.
Where to install ESXi? On a HD, flash memory or what?
One thing to note about about the ESXi install itself is that is it relatively small, to install it on a hard drive is a waste of a HD itself and more importantly valuable I/O. Some newer servers offer internal embedded storage for this exact scenario. If you don’t have this option you can use a USB drive, if you can install it internally via USB header even better. I previously wrote another article where I used a Compact Flash Card mounted inside a mini SATA enclosure, which is another good option. In this case I will be using a 8 Gb Sandisk Cruzer simply plugged in to the rear USB port.
My server setup
The server I am using is a Dell PowerEdge 2950 Generation II. It is an older refurbished server that can be had cheaply, but still is a power house for virtualization. Here are the specs for this system.
Processors: 2 x Xeon E5335 Quad Cores @ 2.0 GHz, 1333 FSB
RAM: 16 Gb DDR2 FB-Dimms @ 667 MHz
Hard drives: 6 x 73 Gb Seagate Cheetahs 15k (RAID 5)
ESXi Install Drive: SanDisk Cruzer 8 Gb USB
RAID Card: Dell Perc 5i Raid Controller
Remote Management: Dell DRAC 5
Where to begin after the install…
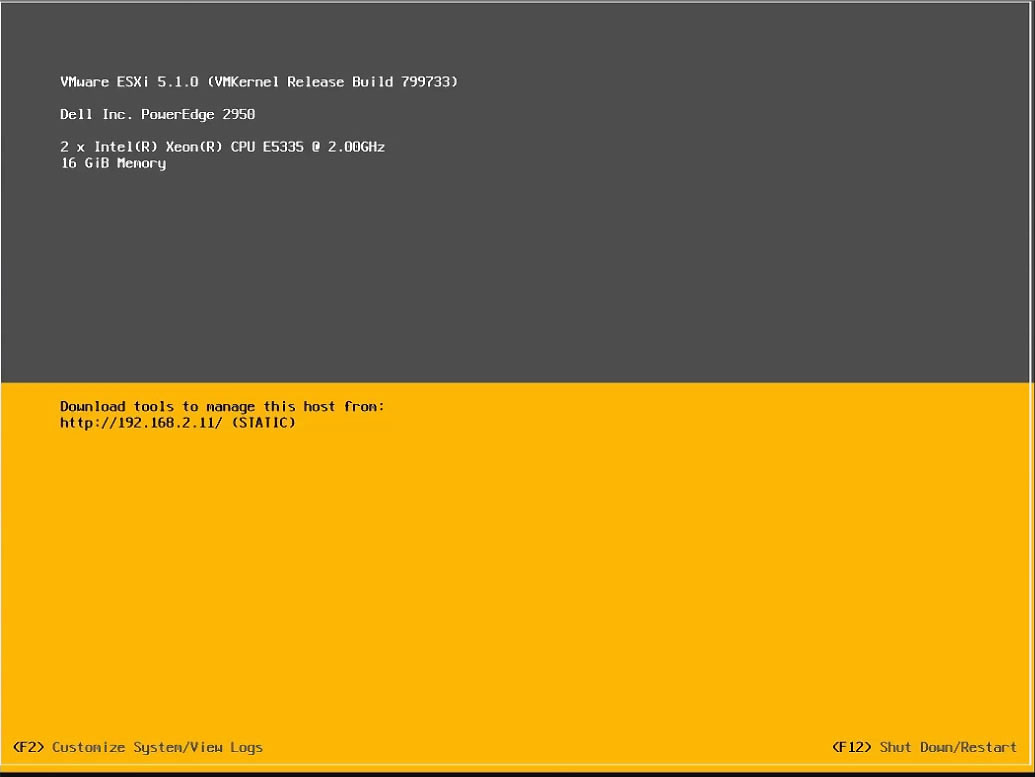
Once you have ESXi installed on your server, you will quickly realize that you can not really do much as you sit in front on the monitor and keyboard that is connected to the physical server. There are basic functions available like setting the networking information, system logs and a few others but you won’t see anything about creating your virtual machines. The reason for that is after the install process and initial network config the entire server is managed through the vSphere client, the ESXi server can pretty much be a headless system at this point. This is what the screen will look like on the ESXi Server itself:
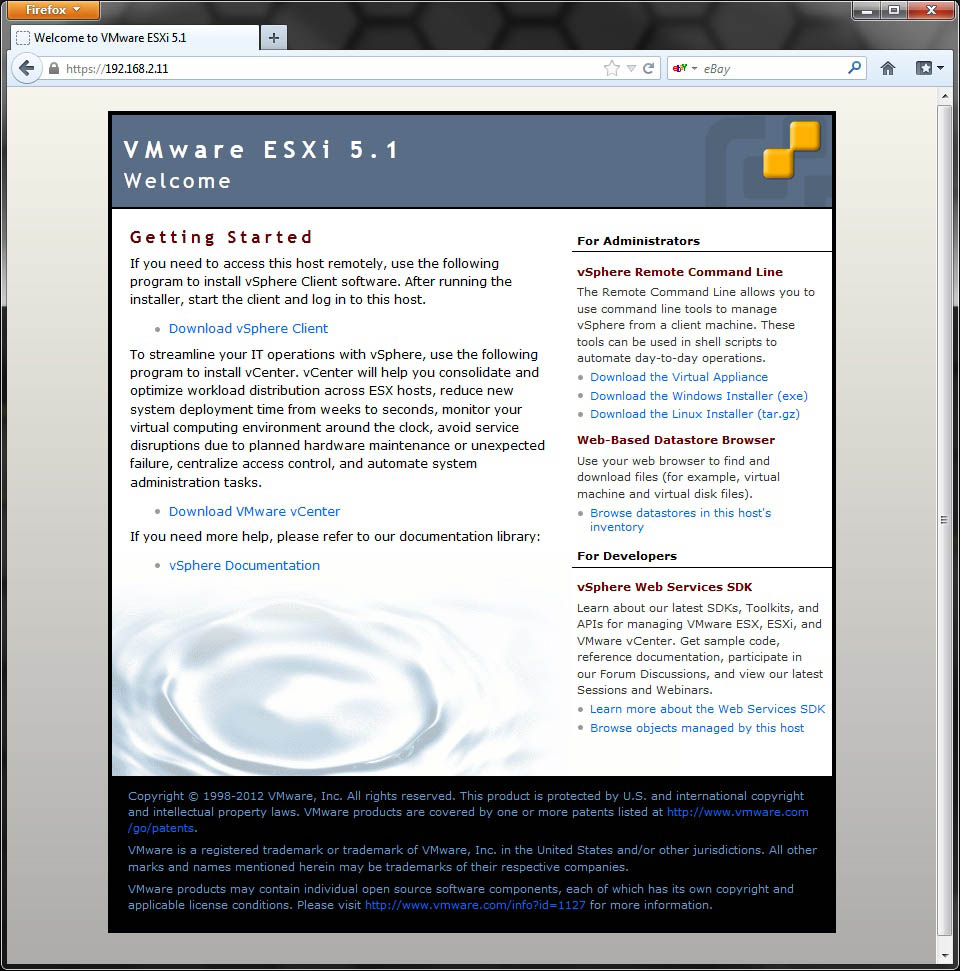
Once the install is completed and you have the IP address of the server you can then connect to it via your web browser (HTTP), and you will see the following screen. This will allow you to download the vSphere client, CLI tools and even browse local data stores.
Download and install the vSphere client then use the IP of the server as well as the root login and password you setup during the install.

Finally you will be presented with the interface to control your entire server. This is where you will add data stores, check system health, build and manage your virtual machines and so on.
