
Intro
This post is going to break away from my typical technical how-to style posts, and talk a little bit about something that has been a personal goal of mine for some time – The Offensive Security Certified Professional.
When it comes to even thinking about enrolling in the OSCP, most people will question if they are ready to sign up, I know I did. Before or even after enrolling, I definitely think it helps to read other peoples reviews to get an idea of their backgrounds/skills to see how it helped them progress and also to get a bit more of an idea of what to expect from the course.
So that is kind of my goal with this post, to offer up a little bit about my background and how it helped me progress through the course while also offering some tips, things you may want to look into, how I set up my Kali machines, and hopefully provide you with some useful information about the course itself.
My Background & Experience
I have spent the majority of my career focusing on systems engineering until a few years ago when I had the chance to transition into security and started focusing more on red and blue teaming. Most of my experience comes from self-education – reading books and blogs, and then spending countless hours in my personal lab building, breaking, exploiting and analyzing all of the things.
Here is a quick rundown of the skills that I picked up over the years in these roles that I felt really helped me progress through the OSCP –
Operating Systems: Knowing your operating systems and how to move around the command line will definitely help you progress through the course faster. Windows, Linux (Debian, Red Hat) and FreeBSD are all good places to start. It also helps to know the key differences between versions and what tools may be available (ie Powershell was first available in version x of windows). I came in “strong” on Windows and “ok” on Linux, but the beginning of the course has some Linux fundamentals that provides most of what you need to know.
Remote Access: It is import to understand the common methods of how machines are remotely accessed and managed, you should know how to configure and use SSH, RDP and VNC.
Virtualization: Being familiar with virtualization isn’t mandatory, but it definitely helped me recognize some issues that popped up in the labs and even on the test. Having a lab or beefy machine running something like VMware workstation is really useful for testing and verifying how things work in normal conditions. If you have never worked with something, try it out in your lab where it should work, and then try the exploit in the actual labs. It can save you a lot of time and guess work.
Scripting: Know how to read and write basic scripts in PowerShell, Bash and Python. You don’t need to be a pro, but you should at least be comfortable modifying other people’s scripts.
Networking: Have a decent understanding of networking, you should at the very least have an idea of how to deploy a firewall, set up a subnet and configure servers to use static IP addresses. Being familiar with NAT and port forwarding also helps. I have spent a lot of time in the past working on and troubleshooting reverse proxies (as load balancers for web servers), which saved me a ton of time understanding the concepts in the mind bending port redirection and tunneling section.
Web Servers and Web Applications: One of the most valuable skills I had coming into the OSCP was being familiar with various web servers like IIS, Apache and Nginx and knowing how to deploy and configure web applications on top of those servers. By knowing the ins and outs of deploying something like Apache, PHP and WordPress makes it a lot easier to know what to look for and how you can manipulate it to get what you want.
Database Servers and SQL: Know the basics of deploying a server like MySQL, how the data is structured and how to enumerate information from the database instance from the command line. It is also useful to be familiar with connection strings and how web applications are configured to access database servers.
Active Directory: It really helped knowing how Active Directory works and what other roles are involved like DNS. AD can be a deep hole on its own, only the basics are needed for OSCP. Make sure to understand the difference between local accounts and domain accounts, how they look and when to use which one. You should also have an idea of what domain groups are privileged.
As you may have noticed, the majority of the items listed here are not security related at all, but more understanding how things are built and put together. For me, if you know how the things are built, breaking them becomes that much easier. If you know these basics, the course provides pretty much everything else you will need.
Going Though OSCP With Peers
The OSCP is a great course to go through with some fellow peers, which is how the OSCP actually came up for me. I had a co-worker who was really interested and encouraged me to jump in with him, so I did.
Now I am not encouraging this in order to help you advance by “cheating” but more for offering different perspectives into things. For example in this case, my buddy br0k3ns0und is way more developer oriented (he loves python) than I am with more of a traditional security background than me, and I’m really good at the systems engineering and understanding how it’s all connected. It helps having someone to bounce things off of when you’re hitting a wall, especially if it’s something you may have not even known was a thing!
So if you can, definitely go through the OSCP with a peer or two and preferably who have a little bit different background or skill set.
Check out my friend br0k3ns0und’s blog here:
https://www.zeroex00.com/
The OffSec VM
Before we get into the course materials, I want to talk about the OffSec VM that is provided with the course and what I found to be the perfect setup for me.
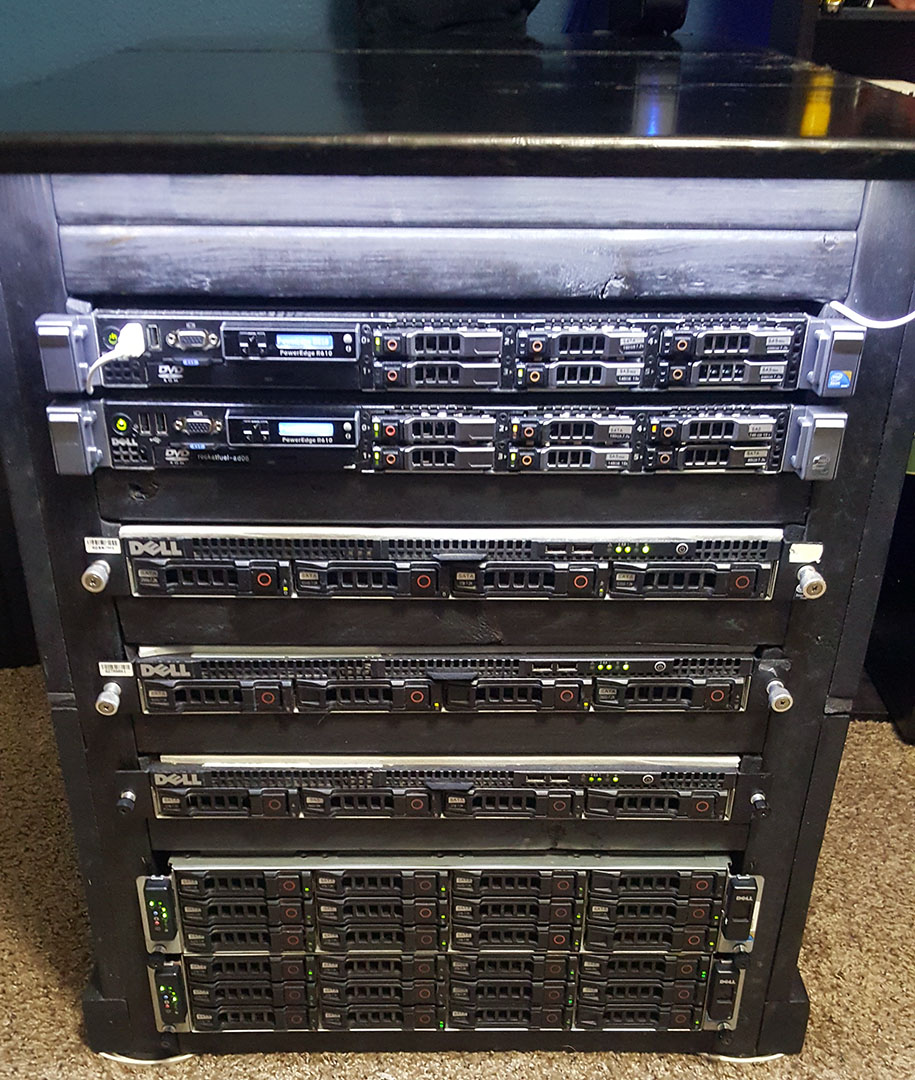
The OffSec VM image that is provided with the course is fine but it is a bit dated. For my setup, I loaded the VM into VMware Workstation and then uploaded it to an ESXi server. I highly suggest sticking to this VM for all of the course materials and do not update it in anyway. You will definitely want to use it for the buffer overflow and Java sections. There were also a lot of SMB tool related issues that came up as I was going through the course, I assume this was probably related to the fact that MS17-010 (EternalBlue) was released and patched around this time.
The one thing that bothered me the most about the provided VM image though, was that no matter what hardware I ran it on the GUI felt so slow and laggy over VMware’s Remote Console compared to the Windows machines over RDP that I was used to. I found that the 2017 images running on the same hardware seemed to be a bit snappier. As mentioned though, running the newer images with the course and lab definitely bit me a few times.
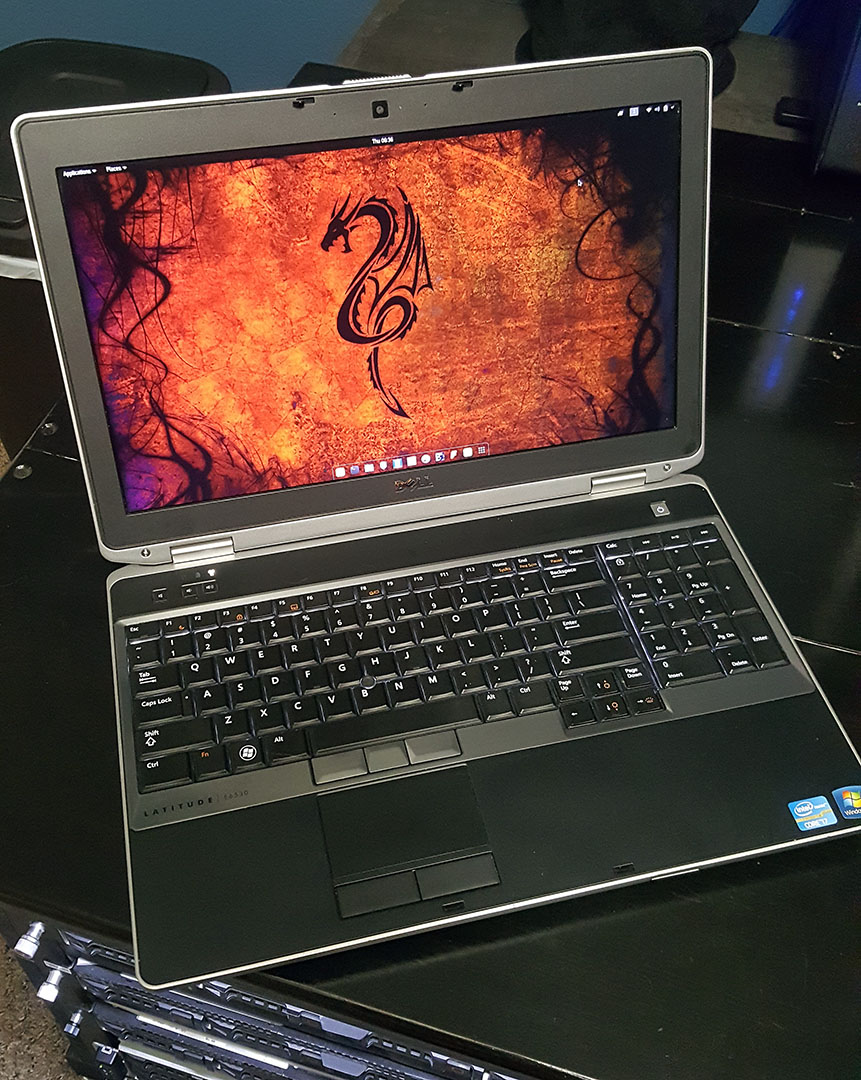
Chasing even more performance, I opted buy a laptop purely for running Kali. I was able to pick up a Dell E6530 with an i7 (3720QM), 8GB of RAM and a 128GB SSD for just a few hundred bucks off of eBay. Loading up the Kali ’17 images on it, I finally found what I was looking for, this thing flew and became my dedicated Kali machine.
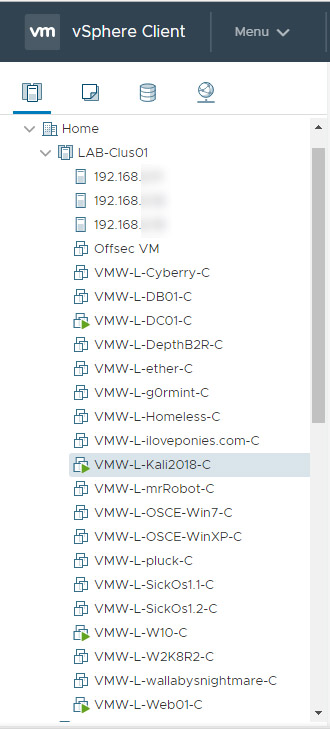
In the end, I had 3 running Kali machines that I kept online – a stock OffSec VM image, a ’17 Kali image VM and the laptop. I also kept running backups of all of the images and/or the data that was on the hosts.
My best advice here, if something just doesn’t seem to be working on the newer images, default back to the Offsec image and go from there.
The Course & Materials
The course is broken up into 3 parts – the course materials (PDF and 8 Hrs of video), the lab and the exam. When you sign up, you will pay for everything at once along with the amount of lab time you would like in 30, 60, or 90 day increments. If you aren’t experienced in penetration testing and are unsure with how much lab time to get, I would go with the 90 days since it is the best deal. The lab is huge and you can easily spend months in there. You can also buy extensions as you need to.
The course materials are well thought out and pretty straight forward. The most important thing I can suggest here is just make sure that you finish both the book and videos before heading into the labs. This will help make sure that you take away as much as you can from the labs, which is really the meat of the course.
The course materials will not contain every tool or method you will need to complete the OSCP, but it has more than enough information to get you started and provide direction. This is part of the genius of the course, it is more about teaching you how be resourceful and establish a way of thinking.
Also make sure to keep thorough notes on all of the marked course exercises, in the case that you end up short on points on the test, you can get an extra 5 points for the exercises and for write-ups on 10 lab machines that you owned. It is so much easier to document everything as you go. I used OneNote for all of my documentation and found it was really nice to work with and easily keep track of the mass amount of information I had acquired by the end of the course.
One last thing I want to mention, if you are reading reviews about the OSCP, you may see some people say that portions of the course are dated. Some of this is true, but to me it’s more of a by design kind of thing. Older stuff tends to be more basic and can be used to help digest more advanced topics. So don’t think of it as dated and not applicable, but more of an entry point into understanding what’s really going on under the hood.
You can find syllabus for the OSCP here:
https://www.offensive-security.com/documentation/penetration-testing-with-kali.pdf
The Lab
This is where the majority of fun and frustration will be had, you will also learn to love/hate the phrase “Try Harder…“.
The PWK lab is fairly large with around 50 or so machines with varying OS’s and configurations in multiple subnets. You access the lab via a VPN provided in the initial bundle you receive with the course materials. Most machines have multiple ways to get a shell and then multiple ways for privilege escalation. The best advice I can give here is take the time to explore and exploit as many different vectors and methods as possible, and make sure to be very thorough in your note taking and screen shots along the way. Do everything manually and then come back and do it again with Metasploit.
A lot of the machines will be stand alone, requiring nothing but the host itself to gain access. While other machines will require resources from another machine in order to compromise it, so make sure to keep track of anything you find and pay attention to who is talking to who. Once you have root/system access, you will find a proof.txt on each machine to prove that you have owned the machine. To have truly owned a host you will need a screenshot of the reverse shell or command prompt showing Ifconfig/Ipconfig, the proof.txt displayed via type or cat, and the output of id or whoami.
If you get stuck, there are forums that go along with the OSCP course, where other students and the OffSec staff will share somewhat obscure hints for each machine. This can be a blessing and a curse, if you leverage the forums for hints, make sure you take the time after the fact to ensure you know how to enumerate out what you missed so you don’t miss it again.
I highly suggest checking out “Alpha” (.71) on the forums as soon as you get into the labs, as it has a whole write up on how to own it. The reason why I suggest this is that I had taken quite a few machines prior to finding this box, but I was kind of all over the place in my methodology. Following the flow of Alpha really helped me establish my own process and also helped me know when to stop going down a rabbit hole.
Some of the manual exploits can be extremely frustrating, particularly older exploits, but the lessons learned will be invaluable. Eventually you will get to the point where you may not even need the scripts, but instead you will be able to read an exploit script and then manually perform the steps needed to successfully perform the exploit.
Exploiting a target machine is easy once you find the right thing and know what to do with it. This is where experience starts to show, recognizing common vulnerable software or misconfigurations and then knowing how to take advantage of them. Luckily the labs are fantastic for helping you build this experience and expose you to a myriad of scenarios and (mis)configurations.
Towards the end, I had nearly the entire first subnet (35+ machines) and had the entry points into the other subnets. I had also taken the big 3 – Pain, Sufferance and Humble. At this point, I decided it was time to take a shot at the exam.
The Exam
The exam is one of the most intense experiences I have ever been through. You have 24 Hrs to gain root or system level access on a limited set of machines worth various points with a minimum of 70 points required to pass. In the event you end up at 65 points, you can turn in an additional report containing the course exercises and 10 lab machines for an additional 5 points. After the 24 Hrs, you have another 24 Hrs to write up and submit a professional looking report with your findings.
Metasploit and Meterpreter are restricted in the exam, but you are allowed to use them against 1 machine. Once you have used it, whether it was successful or not you cannot use it against another machine. While this seems intimidating at first, it actually made no difference for me as if you have done the work to get this this point, you won’t even need to think about using it.
I had heard quite a few people say that if you popped the majority of the lab including Pain, Sufferance and Humble – that there isn’t anything on the test that should be harder than those. I can’t say that is entirely true, the test machines are a bit of a mixed bag and chosen at random. The test used all of the skills I had learned throughout my studies and then some, most of the time requiring me to string multiple exploits/techniques together in order to successfully gain access and then again for privilege escalation.
One of the biggest challenges you will find during the test isn’t even the test itself, it’s the pressure of the time frame. It is so easy to get caught up in the moment, start feeling rushed, then you start to panic and before you know it you’re not thinking clearly. Make sure to take plenty of breaks, get up walk around, go get some snacks and use those moments to get yourself back to thinking basic. As simple as this is, it really helped me and I often found when I came back, I noticed something new or thought of a new way to use something I already had.
You will want to make sure you go into the test with plenty of rest. While they do say you should have time to sleep, I wasn’t able to actually get myself to the point where I could. I was either all excited from popping a host or caught up in thinking about what I was going to do next. So go in prepared for the worst…
Failing The Exam
The OSCP exam is legit, and there is absolutely no shame in failing. In fact, failing is probably one of the best things that happened to me. The thing about the test is that it will test every aspect of your game, if you have any weaknesses, they will be exposed.
After my failing attempt, I took a day to break away from my machines and collected my thoughts. After that I reviewed my notes from the test, identified where my weaknesses were and come up with a game plan to address those weaknesses.
For me my failed attempt was almost invigorating, I didn’t look at it as a failure at all but more of an indication that I was on the right path as I had at least made progress on the test and didn’t walk away with a 0. I also knew exactly where I fell short which was in my enumeration and privilege escalation.
I took the next few months and just dived in, setting up some of my own vulnerable VMs and some from VulnHub as well. Making sure that not only was I enumerating correctly but making sure the tools were working the way I thought they were. I wish I had done this from the beginning, by enumerating externally and having access internally to the machine I was able to make sure I was able to see everything that I should have.
I realized that using some of the scripts available for privilege escalation can really speed things up, but they can have a massive amount of output so you need to be very thorough in your review. Not only that but you need to make sure you understand what exactly you are looking for in each section and how you may be able to abuse that. I also took this time to focus on some of the common packages on linux that have had multiple vulnerabilities in the past and found some VulnHub VMs that were similar to practice on.
Finally come exam time, I was able to successfully complete the challenge with 75 points, taking all but 1 machine. After some much needed sleep and then a few hours of working on the report, I had submitted my report. By the next afternoon, I received the email from Offensive Security that I had successfully passed the exam and I was now an Offensive Security Certified Professional!
Wrapping It Up
Overall I absolutely loved going through the OSCP, it was tough and pushed me to my limits at times but in the end the skills and knowledge I have gained from the course are something I will carry with me and continue to come back to throughout my career. The labs and course material were absolutely amazing, the Offensive Security team really knocked it out of the park in every way. I have a ton of respect for anyone who takes on the OSCP challenge and passes it.
The course does require a large time investment, especially if you are not coming from a pen testing background, but if you are able to dedicate yourself to the course it is a very rewarding experience.
I strongly encourage anyone who is into security and has been thinking about the course to jump in and roll with it. The course is crazy cheap compared to other training, it costs less than $1,500 for the course and exam with 3 mos of lab time. If you really want to get into security or pen testing, this is the training to take and you will not regret it when you make it to the other side.
By the end of the course, you will be a master of the “basics”, armed with a new way of thinking and everything you need to start crafting your own tools/scripts and continue down the rabbit hole that is penetration testing.
Useful Links & Blogs
https://blog.g0tmi1k.com/
http://www.fuzzysecurity.com/
https://www.vulnhub.com/
https://www.abatchy.com/
https://jhalon.github.io/
Books
The Hackers Playbook 3
The Web Application Hacker’s Handbook: Finding and Exploiting Security Flaws 2nd Edition
The Tangled Web
RTFM