Why You Should Always Update Firmwares!
Security patches, new features and bug fixes – These are all very good reasons to ensure firmwares are up to date before moving your new servers into production. Things like the BIOS, RAID Controller, iDrac and network controllers will all usually have updates available. Some of these patches may even save you from hours of troubleshooting something that just ends up being a known issue that already has a fix.
The downside to flashing firmwares is it can be a tedious process, first figuring out which firmwares apply to what servers and then getting the time for the installs and reboots. Dell has really streamlined this process with their LifeCycle Controller which is available right off the BIOS boot menu and reaches directly out to Dells FTP servers, only downloading exactly what is needed for that particular chassis.
Sounds awesome right? Well unfortunately, it turns out that it is possible to have a LifeCycle Controller that is so far out of date that it is not compatible with the signatures used on the newest packages and will fail to download the catalog. This is exactly what happened on one of my new R610s.
So in this video/post I cover the very basics of using the LifeCycle Controller to update firmwares and if that fails, I also cover how to manually update the LifeCycle Controller along with the other firmwares using Dells bootable Linux image and their Server Update Utility (SUU). Once the LifeCycle Controller is updated it should be fully functional again. I don’t have any other PowerEdge series servers but I imagine that this should work the same on similar chassis like R510, R710, etc.
Updating via the LifeCycle Controller
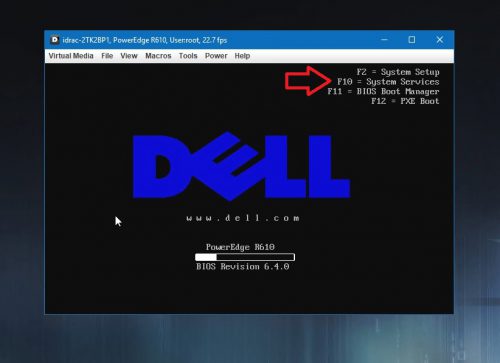
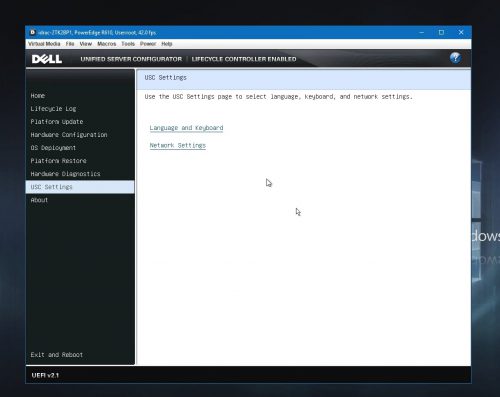
Updating the firmwares with the LifeCycle Controller is very straight forward. To start, boot the server up and hit F10 to enter the System Services. It will take a little while before the server fully loads the Unified Server Configurator environment.
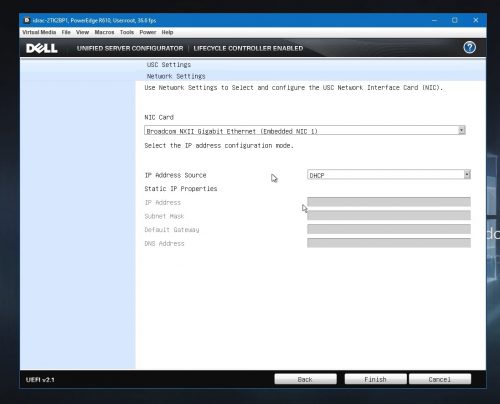
Once it is up, go to USC Settings > Network Settings.
Verify that the correct NIC is selected and the proper IP info is used. The server will need to be on the network and have access to the internet. If the network is unavailable the LifeCycle controller will not be able to continue. Select finish when done.
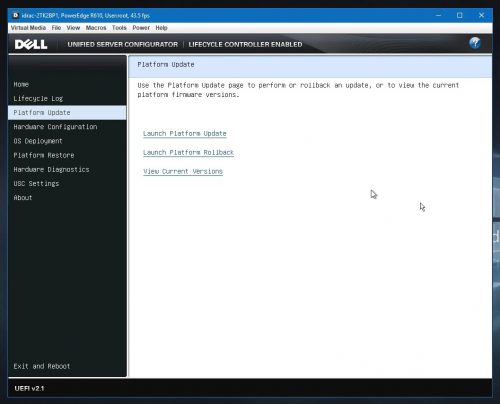
On the left menu select Platform Update > Launch Platform Update.
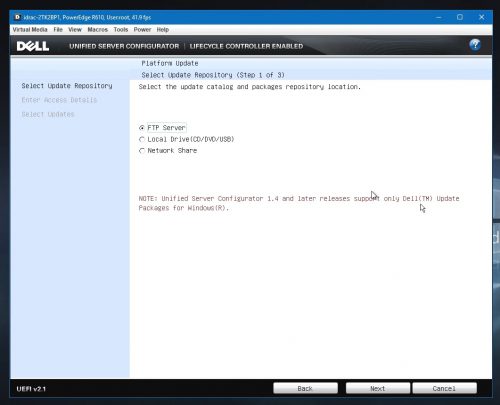
Continue on with the default selection of FTP Server.
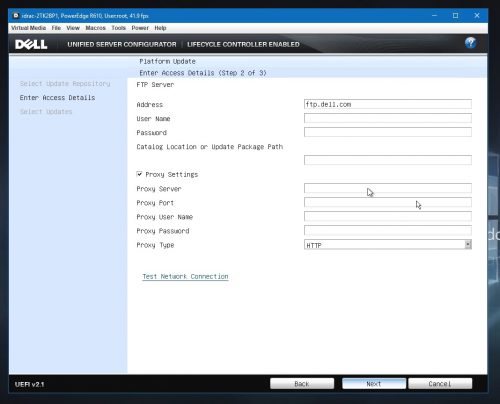
Stick with the default server ftp.dell.com and plug in any proxy settings if you have them, otherwise leave them blank.
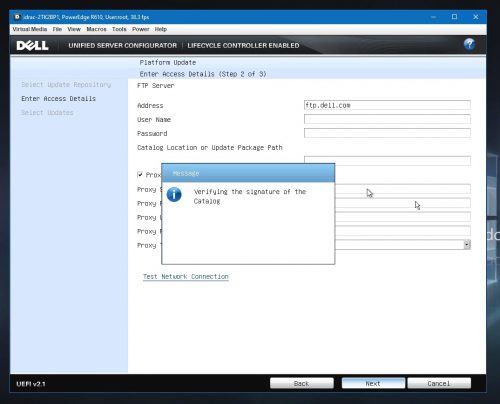
Click Next and the server should then reach out and download the latest catalog. If the LifeCycle is way out of date, this is where it will fail.
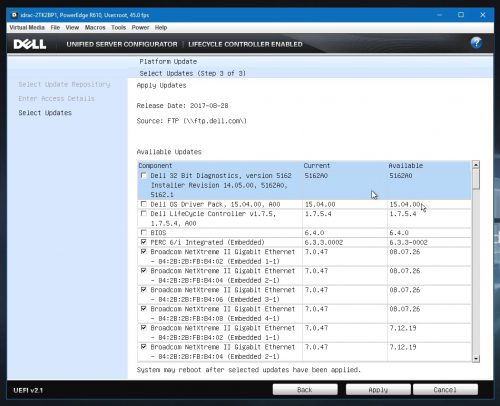
After a few moments, you should see a list of firmwares that are available for the server.
Select the desired firmwares and then click on Apply to install the updates. If you are updating the iDrac and currently logged into it, you will want to exit out at this point and let the server do its thing.
After a reboot the server and its components should now be up to date. If the LifeCycle Controller failed to download the catalog and install the updates, continue on to the next section.
Updating via Server Update Utility and the Dell Live Support Image
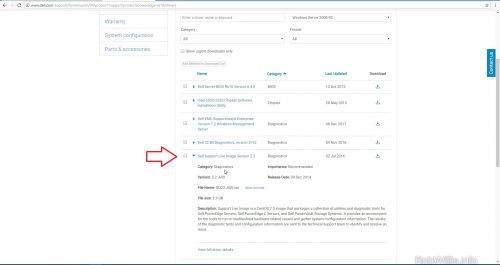
If the LifeCycle Controller doesn’t work out for whatever reason, you can always fall back to the traditional Server Update Utility but this will require an operating system to launch the utility itself. As it turns out Dell actually has their own Support Live Image which can be downloaded from the support page for the servers here:
http://www.dell.com/support/home/us/en/04/product-support/product/poweredge-r610/drivers
The Dell image isn’t really required here, any 64-bit bootable linux should do the trick. If you can not find a copy of the Dell image, I would use the live x64 versions of either Ubuntu or CentOS:
https://www.ubuntu.com/download
https://www.centos.org/download/
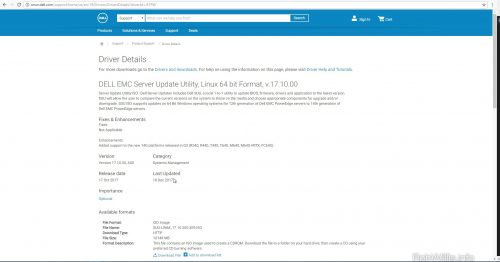
After that, download the latest SUU packaged which be found here:
https://www.dell.com/support/home/us/en/19/Drivers/DriversDetails?driverId=NM4R3
Note that the SUU package is rather large at around 10Gb. The link above is to the most current package as of writing this (Feb 2018), it’s never a bad idea to check and see if there is a newer one available.
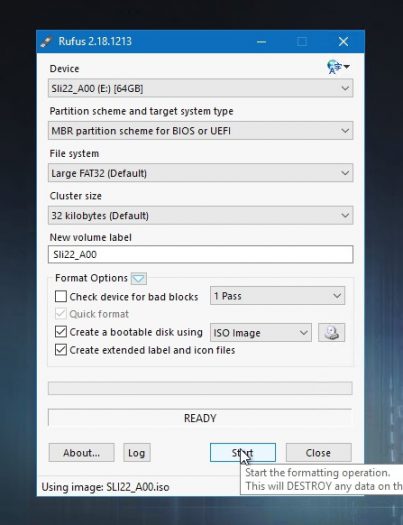
Next we need some way to take the bootable Linux ISO image and turn it into a bootable USB drive, you can use whatever tool you like for this, but I will be using Rufus:
https://rufus.akeo.ie/
The USB drive will need to be large enough to hold the Linux image and the SUU package.
Launch Rufus, point it to the Linux ISO image and then click Start to begin the process. I generally stick with the default options.
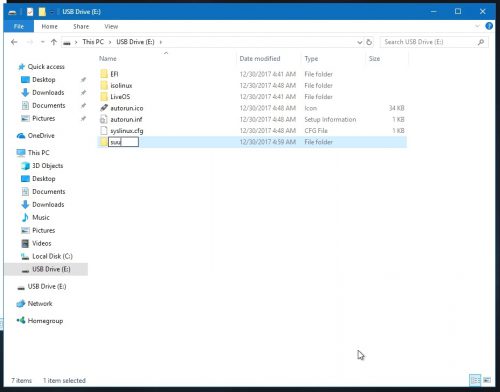
Once Rufus has completed, go to the drive that was just and create a new folder named “suu”.
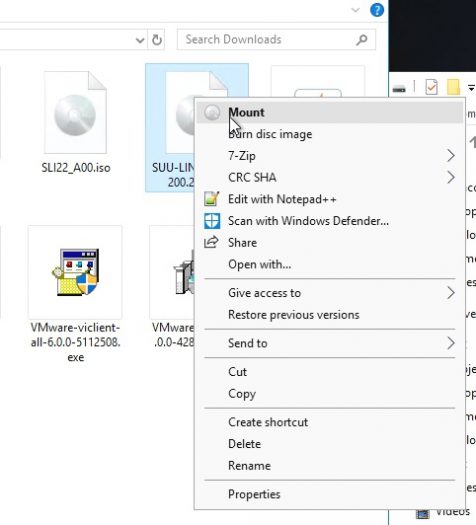
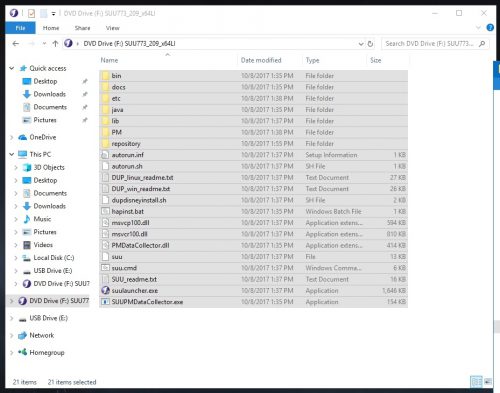
Next we need to extract the files from the SUU ISO image, 7-Zip works well for this or on Windows 10 you can just mount the ISO directly by right clicking on it.
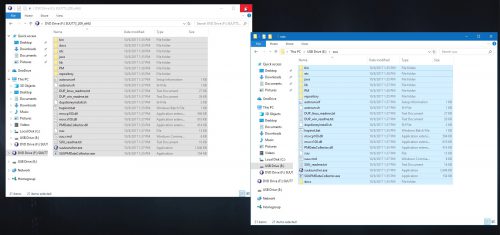
Select all of the files in the root folder and then copy and paste them into the SUU folder on the bootable USB drive that was just created.
Once the files have all transferred over, the USB drive should be ready to use.
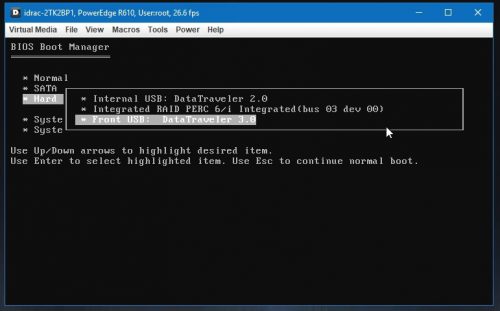
Put the drive into the server and power it on, make sure to hit F11 to select the BIOS Boot Manager, this way we can make sure that the server boots off of the USB drive.
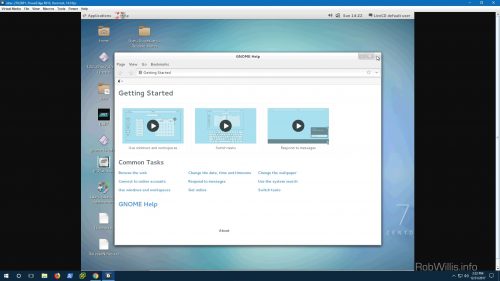
Give the server a few moments to boot up into the linux environment.
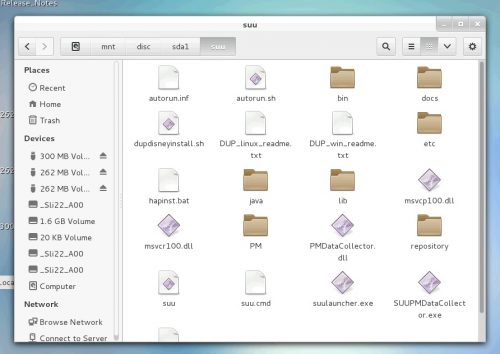
Next take a quick look at the file system to see where exactly we will need to look for the SUU packages, in this case it is /mnt/disc/sda1/suu.
Now that we know where SUU is, open up a terminal and CD to that directory:
$ cd /mnt/disc/sda1/suu
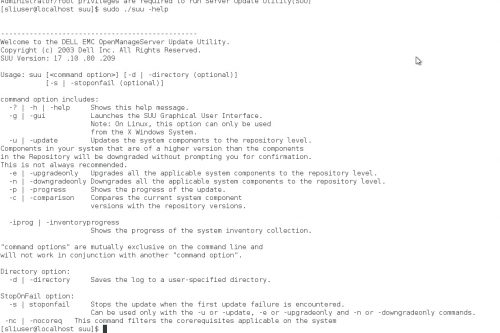
To view the SUU help use the following command:
$ sudo ./suu -h
To take inventory of the system and compare it to the SUU repository use the following command:
$ sudo ./suu -c
And lastly to upgrade the current firmwares to the latest found on the repo without downgrading anything, use the following command:
$ sudo ./suu -e
Updating the LifeCycle Controller this way should resolve the catalog signature issues and restore it to working order. You will also want to exit out the iDrac if you are using it and updating that firmware as well.
After a reboot the server should now be fully updated and now have a working LifeCycle Controller.

